As we anticipated in this post, the anomaly and threat detection for Amazon Simple Storage Service (S3) activities that was previously available in Amazon Macie has now been enhanced and reduced in cost by over 80% as part of Amazon GuardDuty. This expands GuardDuty threat detection coverage beyond workloads and AWS accounts to also help you protect your data stored in S3.
This new capability enables GuardDuty to continuously monitor and profile S3 data access events (usually referred to data plane operations) and S3 configurations (control plane APIs) to detect suspicious activities such as requests coming from an unusual geo-location, disabling of preventative controls such as S3 block public access, or API call patterns consistent with an attempt to discover misconfigured bucket permissions. To detect possibly malicious behavior, GuardDuty uses a combination of anomaly detection, machine learning, and continuously updated threat intelligence. For your reference, here’s the full list of GuardDuty S3 threat detections.
When threats are detected, GuardDuty produces detailed security findings to the console and to Amazon EventBridge, making alerts actionable and easy to integrate into existing event management and workflow systems, or trigger automated remediation actions using AWS Lambda. You can optionally deliver findings to an S3 bucket to aggregate findings from multiple regions, and to integrate with third party security analysis tools.
If you are not using GuardDuty yet, S3 protection will be on by default when you enable the service. If you are using GuardDuty, you can simply enable this new capability with one-click in the GuardDuty console or through the API. For simplicity, and to optimize your costs, GuardDuty has now been integrated directly with S3. In this way, you don’t need to manually enable or configure S3 data event logging in AWS CloudTrail to take advantage of this new capability. GuardDuty also intelligently processes only the data events that can be used to generate threat detections, significantly reducing the number of events processed and lowering your costs.
If you are part of a centralized security team that manages GuardDuty across your entire organization, you can manage all accounts from a single account using the integration with AWS Organizations.
Enabling S3 Protection for an AWS Account
I already have GuardDuty enabled for my AWS account in this region. Now, I want to add threat detection for my S3 buckets. In the GuardDuty console, I select S3 Protection and then Enable. That’s it. To be more protected, I repeat this process for all regions enabled in my account.

After a few minutes, I start seeing new findings related to my S3 buckets. I can select each finding to get more information on the possible threat, including details on the source actor and the target action.

After a few days, I select the Usage section of the console to monitor the estimated monthly costs of GuardDuty in my account, including the new S3 protection. I can also find which are the S3 buckets contributing more to the costs. Well, it turns out I didn’t have lots of traffic on my buckets recently.

Enabling S3 Protection for an AWS Organization
To simplify management of multiple accounts, GuardDuty uses its integration with AWS Organizations to allow you to delegate an account to be the administrator for GuardDuty for the whole organization.
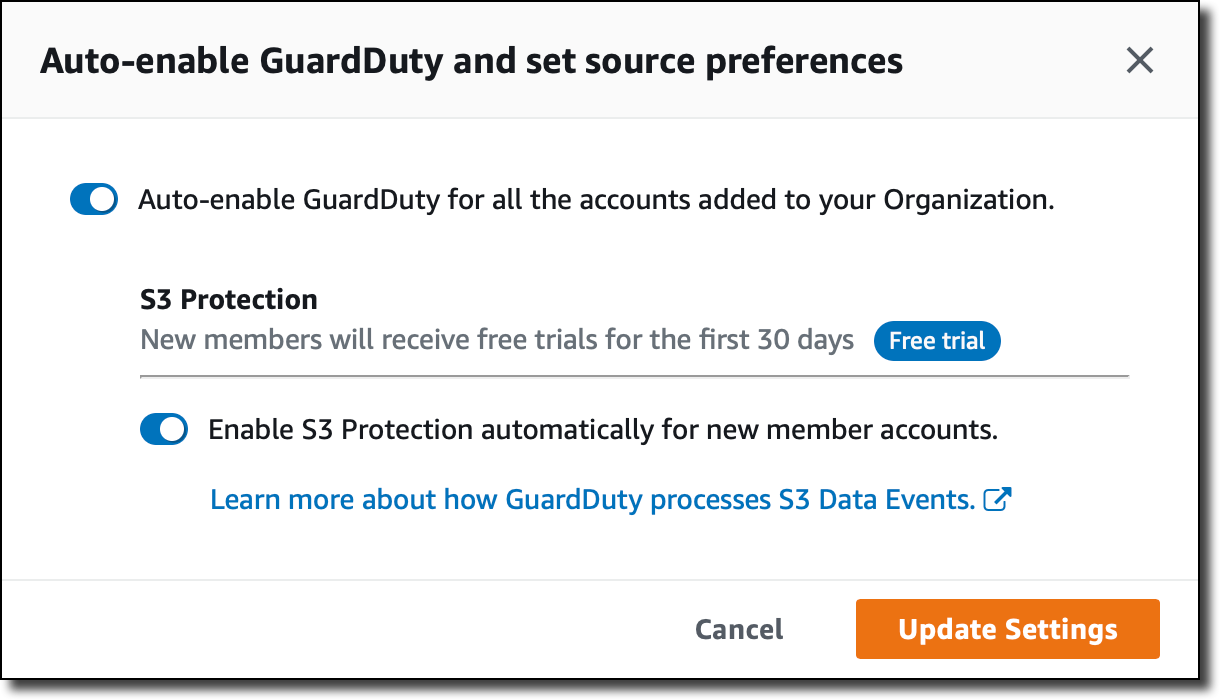
 Now, the delegated administrator can enable GuardDuty for all accounts in the organization in a region with one click. You can also set Auto-enable to ON to automatically include new accounts in the organization. If you prefer, you can add accounts by invitation. You can then go to the S3 Protection page under Settings to enable S3 protection for their entire organization.

When selecting Auto-enable, the delegated administrator can also choose to enable S3 protection automatically for new member accounts.
Available Now
As always, with Amazon GuardDuty, you only pay for the quantity of logs and events processed to detect threats. This includes API control plane events captured in CloudTrail, network flow captured in VPC Flow Logs, DNS request and response logs, and with S3 protection enabled, S3 data plane events. These sources are ingested by GuardDuty through internal integrations when you enable the service, so you don’t need to configure any of these sources directly. The service continually optimizes logs and events processed to reduce your cost, and displays your usage split by source in the console. If configured in multi-account, usage is also split by account.
There is a 30-day free trial for the new S3 threat detection capabilities. This applies as well to accounts that already have GuardDuty enabled, and add the new S3 protection capability. During the trial, the estimated cost based on your S3 data event volume is calculated in the GuardDuty console Usage tab. In this way, while you evaluate these new capabilities at no cost, you can understand what would be your monthly spend.
GuardDuty for S3 protection is available in all regions where GuardDuty is offered. For regional availability, please see the AWS Region Table. To learn more, please see the documentation.
— Danilo
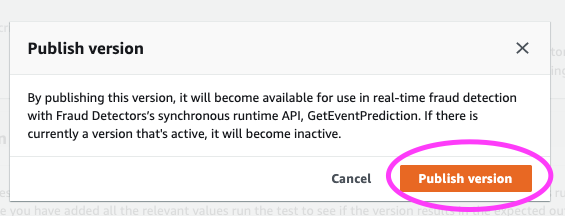
Via AWS News Blog https://ift.tt/1EusYcK To help address these points, we are excited to announce the new


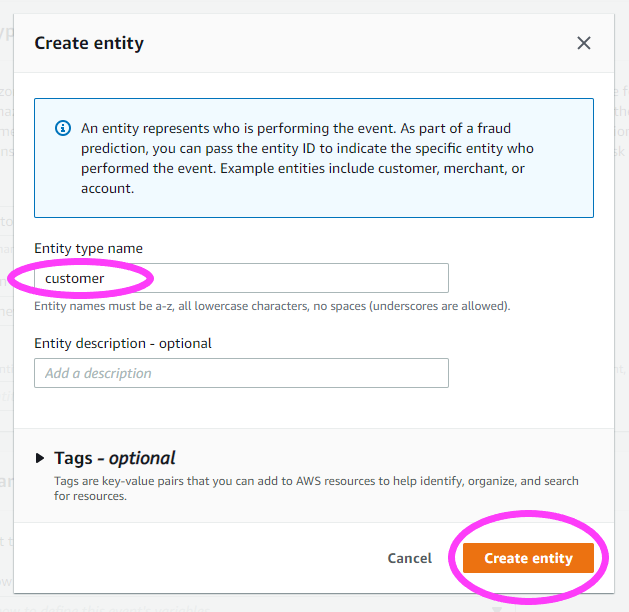
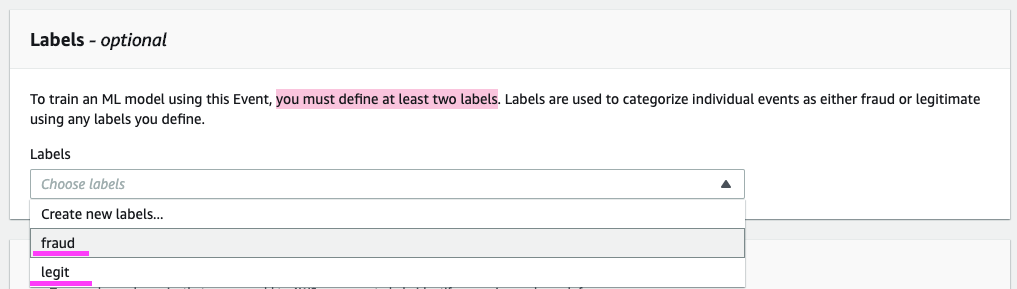
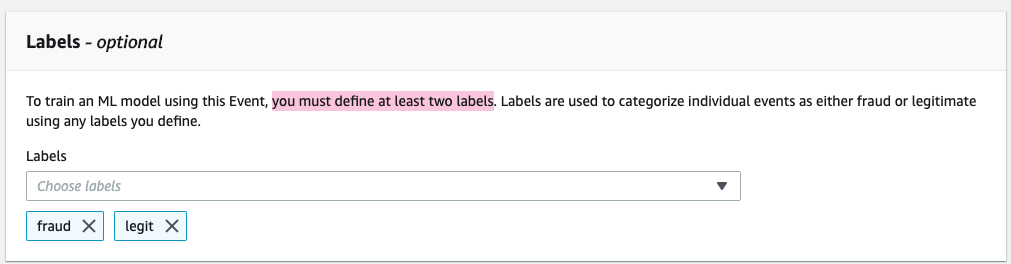
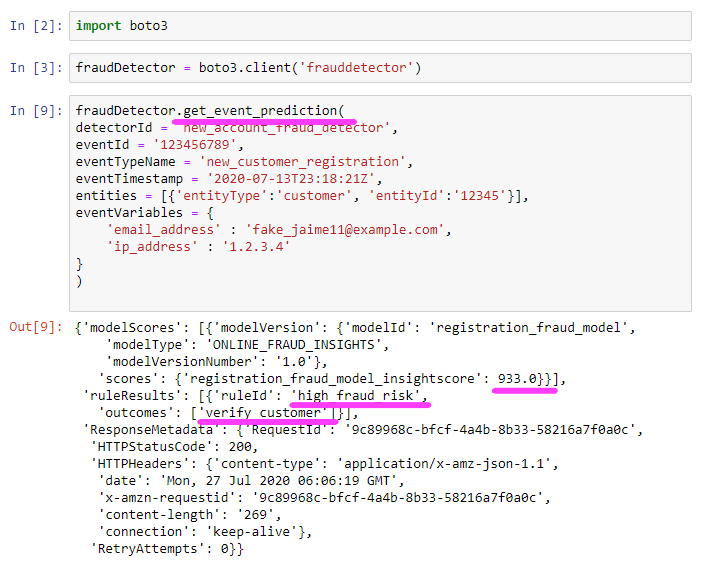
 NOTE: With Amazon Fraud Detector, you’re able to choose a minimum of 2 variables to train a model, not just the


 y Canela